


This year, it’s decided, you opt for an advent calendar to do yourself to impress everyone before Christmas. We have the right idea: an advent calendar recovered from … Rolls of toilet paper!
Difficult to wait until December 25 for some? The Advent calendar is essential and has its little effect by giving the holiday tone from December 1. If there are many commercial models, you can also play the green card by opting for an advent calendar to do yourself. We invite you to discover how Make an Advent Crown with cardboard or toilet paper rolls And a little imagination in collaboration with the Stéphanie Bricole blog and the UHU brand.
The material necessary for an advent calendar in rolls of toilet paper
- 24 cardboard rollers (or toilet paper)
- A piece of thick cardboard (here a square of 50 cm minimum)
- Crecon paper
- Ribbon
- Cardboard paper
- Scissors
- Felts
- Old pages of book (or newspapers)
- A brush
- Patafix
- Rollerblading glue (here uhu dry & clean)
- Glue (here uhu twist & glue)
- Adhesive tape (here uhu rollafix)
- Nickname
- A string
- A pencil
Step 1: The base
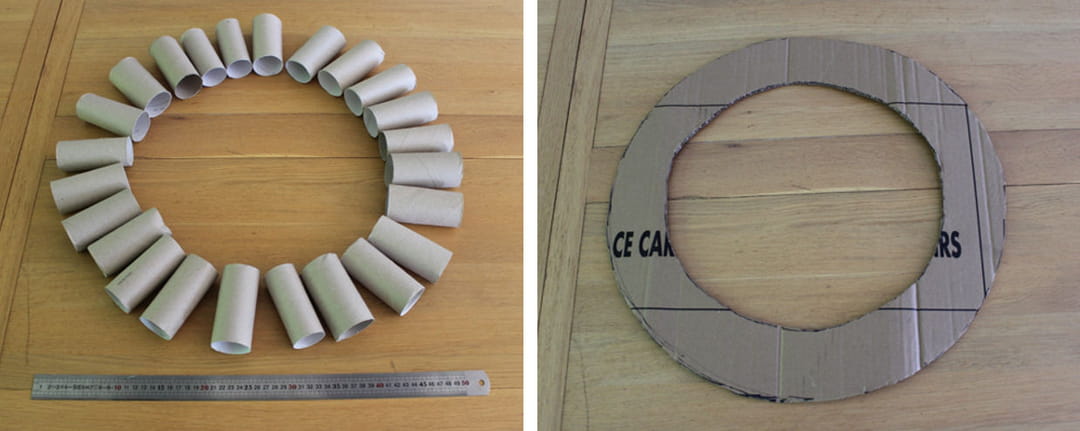
To start, position the 24 rolls of toilet paper in a circle to measure the diameter of the crown which will depend on the size of the rollers. It is then necessary to draw a first circle on the piece of thick cardboard (here 50 cm in diameter), then a second circle from the same center (here 42 cm in diameter). Then cut the drawn ring.
Step 2: Cover the ring
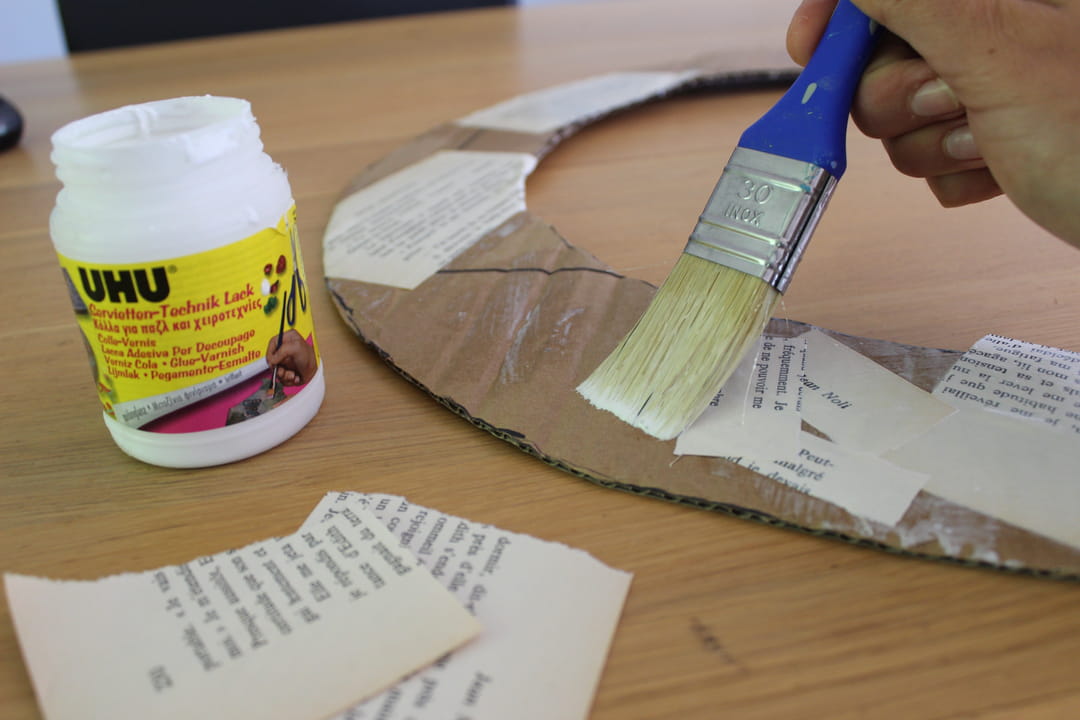
In order to hide the raw cardboard ring, not necessarily very pretty, it can be covered with pieces of pages of the book using the-polish varnish and the brush. You can also cover the crown with newspapers or gift paper, or simply paint it according to your desires.
Step 3: Decorate the rolls

The rolls must now be covered. To do this, cut the pie pieces into rectangle large enough to cover each roll (here 10 cm by 15 cm). Then put the treats or small gifts in the rolls, then paste the crepe around them using the adhesive tape.
Final step: tie
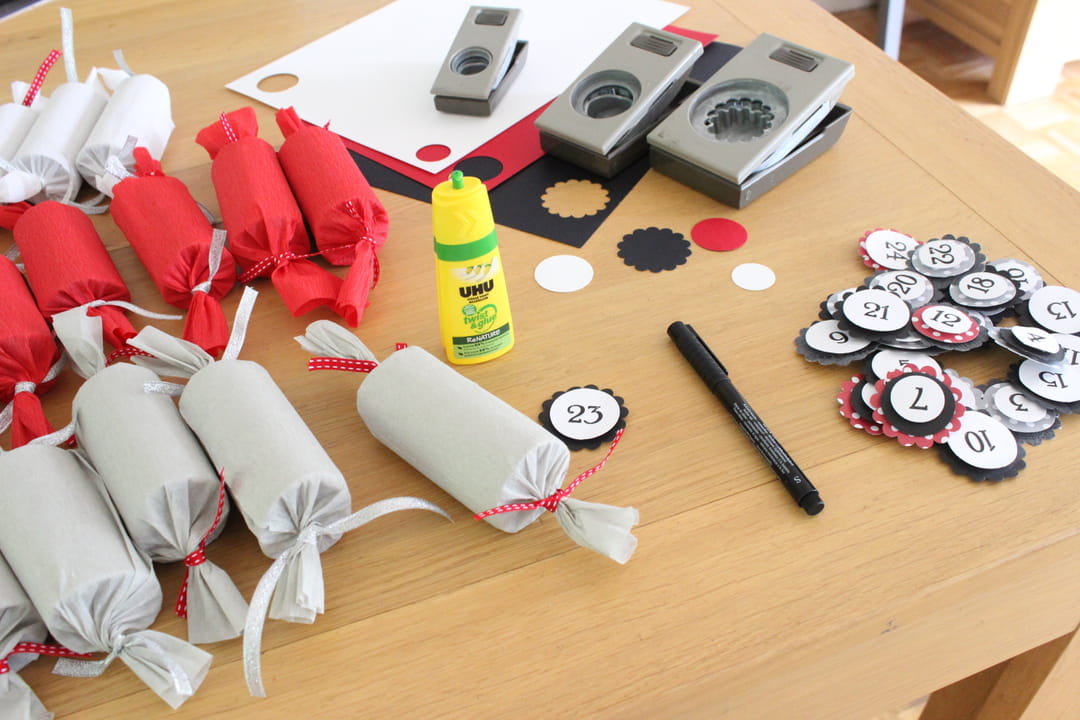
Once the surprises are well hidden and centered inside the rollers, we can tie the sides of crepon with the ribbons. The ribbons can be of different colors depending on the paper chosen.
Final step: glue

Using the punch, cut circles into the paper to make labels and write the dates. It is also possible to cut any shape for the labels to stick on the rollers. Finally, fix each roll on the circle thanks to the patafix.

And there in only 5 stepsyou can now create your recycled Advent calendar using toilet paper rolls. All you have to do is choose the colors and put the rolls in the order you want to personalize it 100 %!


